FEATURED
YOUR EVERYDAY ESSENTIALS
ExPLORE
SUPPORT
DYE-FREE CLEANING
FEATURED
YOUR EVERYDAY ESSENTIALS
ExPLORE
SUPPORT
DYE-FREE CLEANING
When summer boredom strikes, these super cute crafts will keep your kids entertained. And because they’re made—at least in part—with plant-based household cleaners, you won’t have to worry about harsh chemicals ruining the fun.
Best of all, with these fun summer craft projects, your kids will be able to say, “I made this myself!”
Note: All three projects call for your Truly Free Home plant-based cleaners to be already mixed in their jugs or bottles.

This mini science experiment is a low-mess way for kids to practice measuring while sharpening their fine motor skills and focus. Plus, these fun DIY glitter jars double as calm-down glitter jars your kids can use to self-soothe when they’re anxious or frustrated. Have them personalize their calming glitter jars with their favorite figurines–and during the holiday season, bring this craft back to create magical snow globes they can gift to family and friends.
DIY Calming Glitter Jar Recipe and Ingredients
Glass mason jar with lid
Glue
Figurine(s)
1 teaspoon of glitter
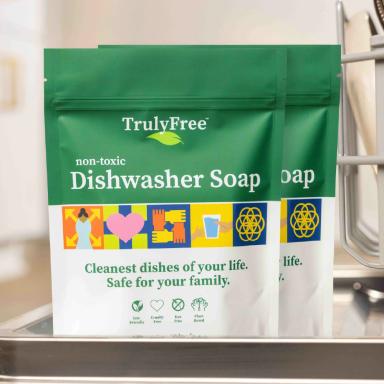
Enough Truly Free Home Aloe Hand Soap or Dish Soap to almost fill the jar
How to make a DIY calming glitter jar
1. Clean the mason jar. Make sure it’s completely dry before step 2.
2. Secure the figurine(s). Glue to the center of the jar’s lid and let dry thoroughly.
3. Add clear liquid hand or dish soap. Leave enough space at the top to allow for shaking.
4. Add glitter of your choice.
5. Seal the lid. Carefully screw the lid onto the jar and secure it with glue to prevent leaks. Let it dry before shaking.
To use as a calm-down jar, have your child shake the jar and then watch the glitter until it stops moving.

Out of sidewalk chalk? No problem. Help kids mix up some DIY Sidewalk Chalk Paint and let their creativity run wild. They can dream up their own masterpieces using their DIY chalk paint on the driveway, sidewalk, or patio. It’s easy to make homemade sidewalk chalk paint. Learn how below.
DIY Sidewalk Chalk Paint Recipe and Ingredients
1 cup of cornstarch for each color
⅔ cup of water for each color
1 teaspoon Truly Free Home’s Dish Soap for each color
Non-toxic food coloring, or make your own
Paint brushes
Cups to hold the paint
If you’re out of paintbrushes, finger painting is fine, too. And because all of the ingredients are natural, you don’t have to worry about your little one’s skin absorbing any harmful chemicals.

Hundreds of recipes for this ooey-gooey slime are available online. But many of them include ingredients that can cause skin rashes, eye irritation, and vomiting if ingested. With no harsh chemicals, this is one slime recipe you can feel good about. Read on to learn how to make slime the Truly Free Home way.
DIY Slime Recipe and Ingredients
½ cup of Elmer’s School Glue
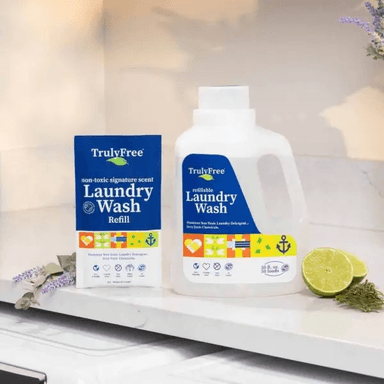
1 tablespoon of Truly Free Home Laundry Wash
1 cup of baking soda; add more as needed
2–3 tablespoons of water
Non-toxic food coloring

Store the slime in an airtight container to keep it fresh. If any of it gets stuck on clothing, simply scrape off as much of the slime as you can and treat it with Truly Free Home Laundry Stain Spray before washing as usual.
Did things get a little sticky? Even the most careful little artists have accidents. If you find dried glue on a shirt or the rug after the masterpieces are finished, don't panic! Check out our glue stain removal guide for a quick and easy fix that’s better for your family.