- Shop
- Learn

Posted By: Tay Roberts
|
Posted On: 6/24/2024
There's nothing quite as frustrating as seeing grout lines turn gray or black from accumulated dirt. Even worse are the toxic cleaning agents often marketed for grout cleaning—no one wants to wear a hazmat suit just to achieve clean grout lines. In our household, that's simply not an option.
Through much trial and error, I've developed a DIY grout cleaning recipe that ensures spotless grout without any harsh chemicals. Join me as I share my tried-and-true method for achieving the cleanest grout, using only safe, non-toxic ingredients.
Items You Will Need:
Before we dive into making your grout look brand new, it's important to prep your floor. Start by sweeping or vacuuming up any debris that might be present. This simple step helps prevent the excess smearing of dirt and debris, including those pesky pet hairs, ensuring a cleaner and more effective grout cleaning process.
Quick Tip: If this is for a shower with tile and grout, there is no prep needed!

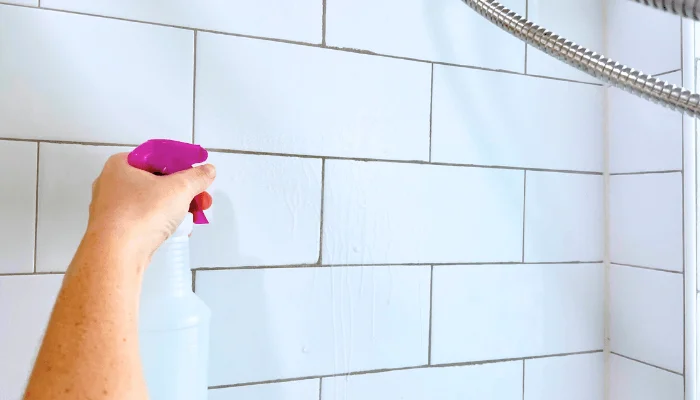
Once your spray bottle is filled with warm water, thoroughly spray the grout lines. This will help to moisten the grout and prepare it for the OxyBoost. Be generous with the water, ensuring that every part of the grout is covered.
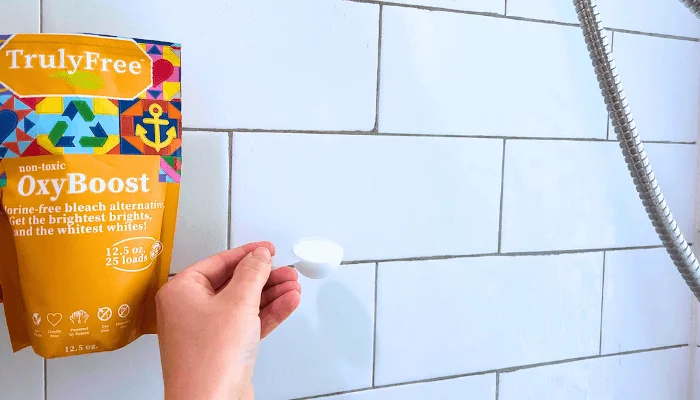
Next, take about 1-2 scoops of OxyBoost and evenly sprinkle it over the wet grout lines. Make sure to cover all areas that need cleaning.
Quick Tip: If you are treating grout in a shower, you can also apply the OxyBoost to a sponge and apply it for a more even application.

Allow the OxyBoost to sit and settle on the grout for about 20 minutes. This waiting period lets the cleaner penetrate deep into the grout, making it easier to scrub away dirt later. Use this time to relax.
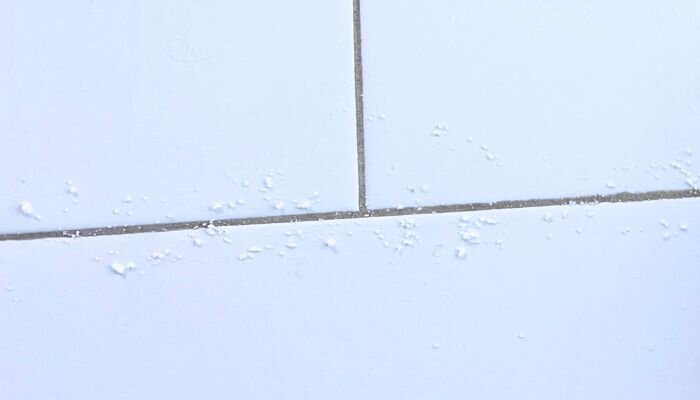
After the OxyBoost has settled, use a grout brush to scrub the grout lines. Apply firm pressure and use back-and-forth motions to dislodge any stains and dirt. Take your time to ensure that all areas are thoroughly scrubbed.
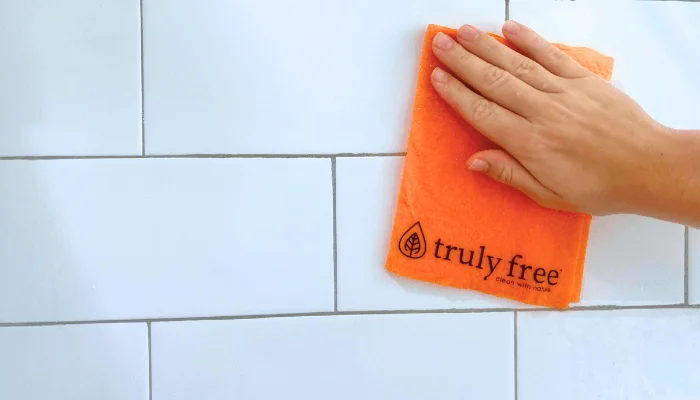
Once you've scrubbed the grout, use a wet cloth to wipe up any excess OxyBoost and water. Give the grout a good rinse to remove any remaining cleaner.

Stand back and admire your hard work! Your grout should now look clean, bright, and refreshed. Enjoy the satisfaction of having spotless grout lines and a cleaner, more inviting space.

Despite our best efforts, floors inevitably gather dirt, grease, and oils from daily life. It’s just a fact of life. However, you can keep your grout looking pristine by following this routine every other month. The more consistently you maintain it, the easier it will be to remove dirt and stains in the long run.

As a mom, I know how important it is to keep our homes clean and safe for our families. Tackling the task of cleaning grout may seem daunting at first, but with this DIY method, it's not only manageable but also free from harmful chemicals. By incorporating these simple steps into your cleaning routine, you can ensure that your grout stays sparkling clean and your home remains a healthy environment.
Remember, consistency is key. The more regularly you treat your grout, the easier it will be to maintain its cleanliness. I hope you find this DIY grout cleaning guide helpful and that it brings a bit of extra shine to your home. Happy cleaning!

Tay Roberts, a mom of two and Northern Michigan native, is a non-toxic living advocate, sustainability enthusiast, and holistic wellness champion. As a social media manager and product educational specialist at Truly Free, Tay blends her personal values with professional expertise to inspire others towards healthier choices. Through engaging content and strategic campaigns, she educates and empowers individuals to make informed decisions that prioritize well-being and the planet's health. Tay's commitment to fostering a community centered around conscious living shines through in her digital presence, making her a beacon of inspiration for a healthier, happier tomorrow.